How To Get Started 3D Printing
An introduction to the exciting world of 3D printing and why it's worth exploring for first-time users
3D printing technology has revolutionized the way we create and manufacture objects, allowing us to quickly and easily produce complex shapes and designs that were once impossible or impractical to make using conventional methods. With your 3D printer, you could bring your ideas to life by turning a digital 3D model into a physical object that you can hold in your hand, like something straight out of a sci-fi movie!
Whether you're an artist, designer, maker, hobbyist, or just someone who is curious about the possibilities of 3D printing, this technology offers endless opportunities for creativity and innovation. From functional items like replacement parts and tools, to artistic creations and prototypes, the possibilities are limited only by your imagination and persistence to learn and improve your methods and skills.
As well as creative potential, 3D printing also offers fantastic benefits such as affordability, customization, and sustainability. With a wide range of 3D printers available at almost any price point, from beginner to pro, it's easier than ever to get started with this technology. 3D printing can reduce waste and save resources by allowing you to make only what you need, rather than mass-producing items that might not be used or may end up being thrown away. 3D printing can enable you to create ultra unique items specific to you, no more shopping around hunting for an obscure part!
3D printing is a rewarding and exciting journey that can open up new possibilities for creativity, problem-solving, and self-expression. Whether you're a beginner or an experienced maker, there's always something new to learn and discover in the exciting world of 3D printing.
Research! Before anything, read and watch to find the perfect printer for your needs!
When it comes to choosing a 3D printer, there are thousands of options available on the market, each with its own unique capabilities and features. It's important to do your research and carefully consider your needs and goals before settling on a brand or printer.
Some things to consider when researching, include the size of the printer, the build volume (the maximum size of an object that can be printed), the type of material that can be used, the precision and resolution of the prints, ease of use and the price.
For example, if you're interested in printing bigger models, you'll need a printer with a larger build volume. If you're looking to print with a specific material, such as metal or ceramic, you'll need a printer that can print with that material. And if you want to create high-quality, detailed prints, you'll need a printer with a high resolution and precision. Ultimately all these features are limited by your price range, you may find a mid-range printer from a brand like Creality might be good enough, or if you run a business operation, you might take a high-end model to hit all your goals with a printer like the Ender 7.
Another essential factor is the type of 3D printing technology used by the printer. The most common types are; FDM, SLA and to a lesser extent SLS. Each of these printers have completely different uses, and the type of print you want will determine which you should buy. For example, FDM is great for printing parts, objects with moving parts, and practical items. SLA is fantastic for model making due to its high resolution and silky smooth prints. SLS will be used mainly for manufacturing, to the ability to print metals and the high cost of these printers. FDM is the most popular type of printer for all round printing use, however SLS is essential if you want to print models and figurines.
Purchase your printer and get assembling!

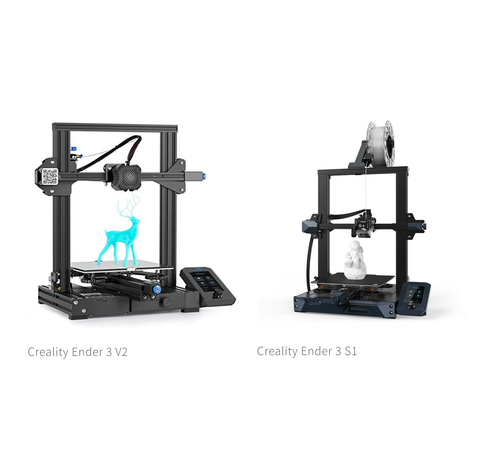
'Some of Creality's most popular models.'

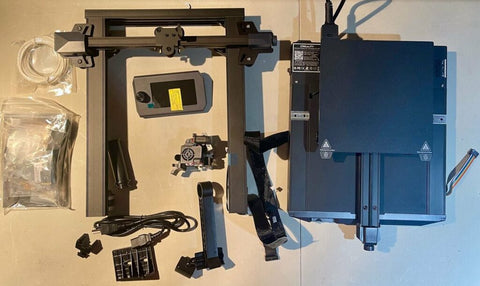
'Remember to assemble your printer carefully.'
You should assemble your printer according to manufacturer's instructions, and watch a youtube video of assembly if one is available. Take it slow, double check, and then check again! Especially when levelling the print bed. Mistakes are common and can cause disastrous results if rushed or done wrong.
Gather all the parts in a well lit work space, with all required tools, and tackle the assembly step by step, making sure you read through the instruction in full before starting. Many popular printers like Creality, Elegoo, and Anycubic models all have instructional videos on youtube, these are a lifesaver!
If you run in to further issues, remember you can contact us, or the manufacturer, for additional instructions.
Once you've successfully assembled your 3D printer, you can move on to the next step: calibrating the printer to ensure that it is properly aligned and can produce the best quality print possible.
Install the necessary software on your computer!

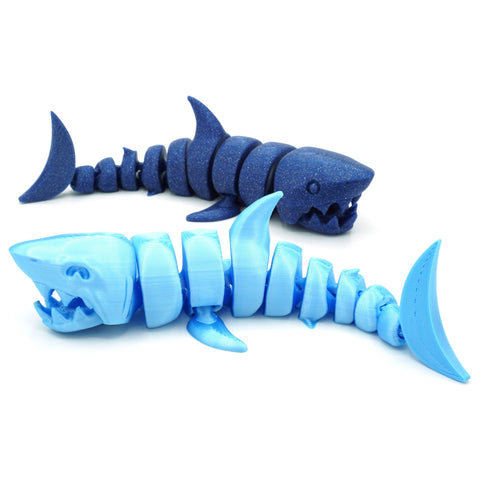
'Some prints made with thingyverse free models.'

'Most popular Slicer for 3D printers.'
To 3D print an object, you will need a 3D printer, a 3D modeling program (such as Blender or AutoCAD), and 3D printing software (such as Simplify3D or Cura). You will use the modelling program to create a digital design for your object, and then use the printing software to prepare the design for printing and control the printer itself. Some printers will come with a slicer software, also if you don’t know how to use 3D CAD software you can use an online repository to find ready made models to download and print. Brilliant websites like Thingiverse, MyMiniFactory, and Cults3D offer a wide variety of 3D models, including everything from simple household objects to complex mechanical parts and architectural models. Some of these sites allow users to download 3D models completely for free! You can also use premium services to download models for a fee. These websites like thingyverse have user reviews, guidance, slicer settings and compatibility information! If you need more help, check out our starter guide for 3d printing software
Prepare to import your model in to the Slicer!
Import your model in to the slicer, you can also install your printer's best settings from slicer settings, by typing in the model name in the menu options. This allows your slicer to optimize the print, to best suit your printer. You can also find your printer's best settings by doing a quick google search and manually inputting the options, you can also save these as a new profile.
The slicer software "slices" the digital model into hundreds or thousands of horizontal layers, and then generates the instructions (G-code) that the printer needs to create the object by ‘printing’ material layer by layer. As the layers build up, you will get your model. Your prints can be optimized as you play around with your settings, you can find message boards, google videos and facebooks groups around finding the best settings for your printer.
Final Steps
You will need to save the Gcode file to an SD card that should come with your printer, simply push it in to the slot to load the file in to the printer.
Once your 3D print has started, you should monitor the printing process to make sure everything is going smoothly. This may involve checking on the printer periodically to make sure it is functioning properly and that the object is being printed as expected. You may also need to make adjustments to the printer or the print settings if you encounter any issues. For example, if the printer is not extruding enough material, you may need to increase the extrusion rate in the slicer software. Or you may need to increase or decrease the material or bed temperature depending on the model and circumstances.
Once the print is complete, carefully remove it from the printer and allow it to cool before handling. You can post process your prints by lightly sanding deburring, and even painting!
Enjoy your 3D-printed creation and continue to experiment with different designs and settings to improve your skills and results. Read our FAQ for even more answers, you can also browse our fantastic 3D Printers to get started on your journey.
